
SURPG movement and parkour mechanics
Use the right movement action for each obstacle: accelerate along rails, target poles across gaps, break cracked surfaces, and follow springs or arrow-marked passages to higher platforms.
Hold Q on keyboard or X/Square on controller to Boost. Double-tap Jump to use Homing Attack near a compatible target. C on keyboard or B on controller changes with your state: hold while stationary to Crouch, tap while running to Slide, or hold in the air to Stomp cracked floors. Step onto rails to grind, jump into Dash Rings for aerial propulsion, and use Quick Step to align with gaps between spikes.
Movement states and compatible targets
Your movement state determines which action a shared button performs. Check whether you are standing still, running, airborne, grinding, or holding a pole before choosing your next input.
- On the ground: Boost builds speed; Quick Step shifts you sideways around obstacles.
- Standing still or running: the shared Crouch/Slide/Stomp input changes between Crouch and Slide.
- In the air: the same shared input performs Stomp. Homing Attack sends you toward a compatible nearby target.
- On a rail or pole: use the traversal controls for that object—Boost accelerates grinding, while Jump releases you from a pole.
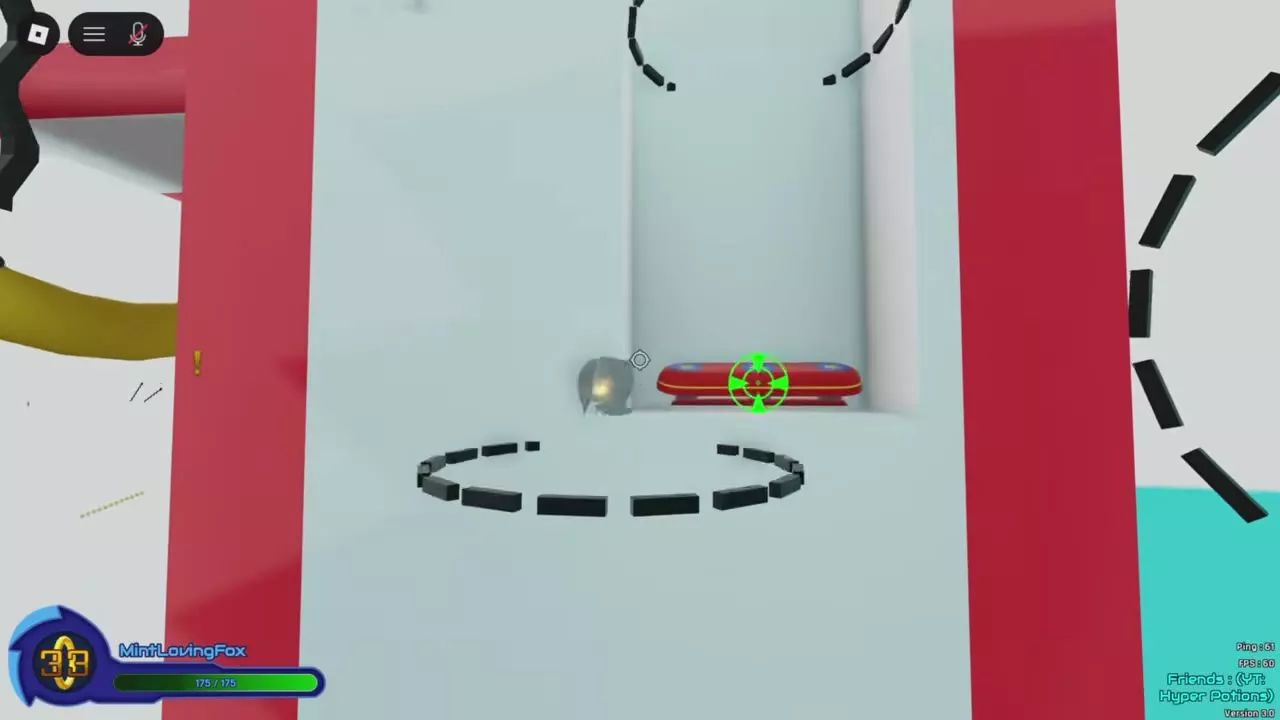
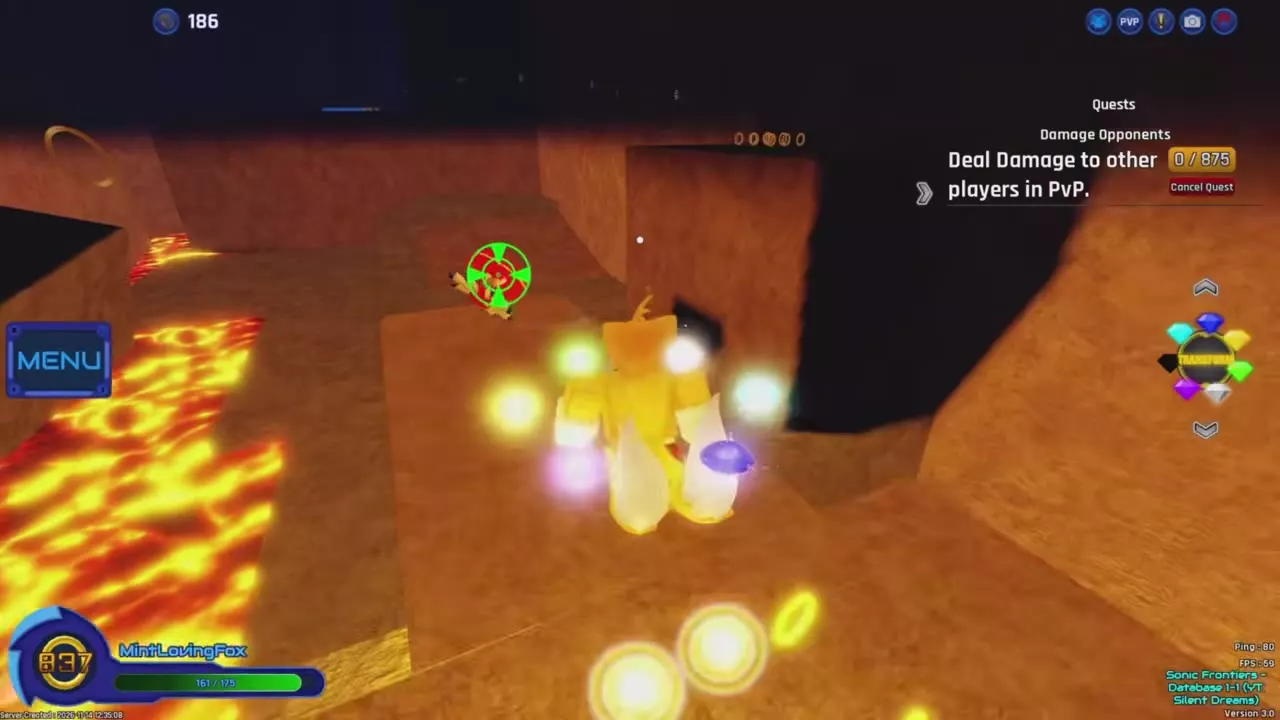
Press Space on keyboard or A on an Xbox controller to jump. For targeted traversal, approach until the target is within range; a green marker identifies the pole target. Line up with that target before starting the next part of the chain.
The inputs below use the action-guide controls. If you have changed them, use your assigned buttons. See controls and keybinds for the full input directory and rebinding steps.
Parkour object directory
Match the obstacle to its interaction and effect. Springs and Dash Rings propel you along the route; poles connect targeted jumps; breakable surfaces and switches open passages. Spike Traps require a clear path around them.
Parkour objects, interactions and traversal effects.
7 objects
|
|
Use the spring pad | Upward launch |
|---|---|---|
|
Launch pads used to propel the character upward toward higher platforms.
TipsFollow the red spring sequence from the wall's lower pad to the higher pads and upper platform. |
||
|
|
Jump into the ring | Aerial boost |
|
Rings that boost the character through the air to help cross large gaps.
|
||
|
|
Grab with Homing Attack Within targeting range | Swing and jump onward |
|
Horizontal poles that can be grabbed with Homing Attack and used to swing toward the next part of a route.
TipsGrab with Homing Attack, time your jump toward the next pole, then use Homing Attack again. Press Space on keyboard or A on controller to jump off. |
||
|
|
Boost, Slide, or Homing Attack Against a breakable wall | Open the route |
|
Destructible walls that open a route when broken with an appropriate movement action.
|
||
|
|
Stomp from the air Above the floor | Break the floor |
|
Cracked floors that can be broken with an airborne Stomp.
|
||
|
|
Step on the nearby switch | Open the gate |
|
Gates opened by stepping on a nearby ground switch.
TipsStep on the nearby blue ground switch, then return to the doorway and continue through the open gate. |
||
|
|
Avoid contact | Lethal contact Tutorial road spikes |
|
Hazards placed across traversal roads, including alternating obstacles in the tutorial's final section.
|
||
Boost and Quick Step
Boost and Turbo Boost
Start moving, then hold Q on keyboard or X/Square on controller to Boost. On mobile, tap Enable Boost while moving. Boost increases movement speed and also accelerates rail grinding.
With Turbo Boost unlocked, keep boosting and tap T on keyboard or press the left stick on controller to activate it. Under the legacy console mapping, X toggles Boost and holding the Boost button activates Turbo Boost. Follow the scheme assigned to your controls.
Boost is disabled during Sonic Wind.
Quick Step through alternating gaps
Quick Step shifts you rapidly to the left or right. Use these inputs:
| Device | Left | Right |
|---|---|---|
| Keyboard | Double-tap A | Double-tap D |
| Controller | Double-tap LB | Double-tap RB |
| Mobile | Tap left Quick Step | Tap right Quick Step |
The controller tutorial prompt says to press L1/LB or R1/RB; the Controls guide and Keybinds use double-tap LB or RB.
- Look for the open side of the next spike obstacle.
- Quick Step toward that opening as you continue forward.
- Change sides when the next opening moves to the opposite side.
Contact with the tutorial road spikes is lethal. Aim for the open lane rather than moving into the spikes.
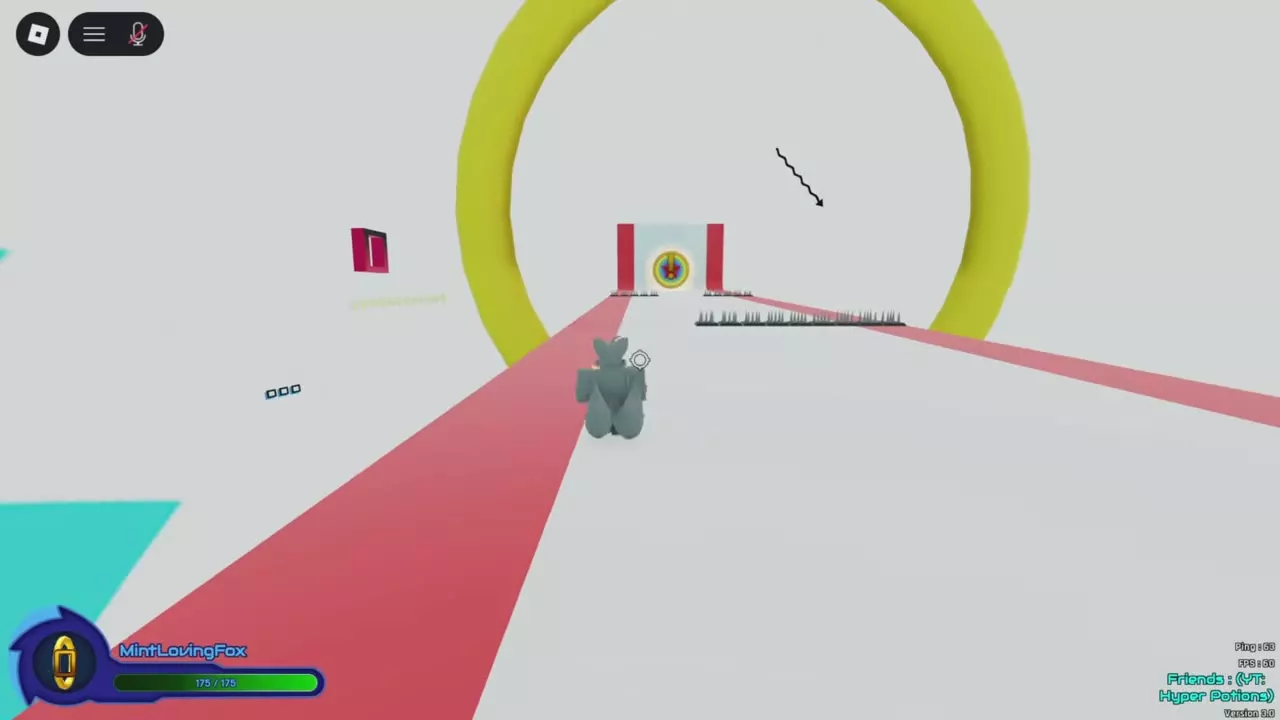
Homing Attack and poles
Double-tap Space on keyboard, A/X on controller, or the Jump button on mobile to use Homing Attack. Near a compatible target, it homes toward that target. Use this to cross a gap toward a target or to grab a pole.
Chain pole grabs
- Approach the first pole until its green targeting marker is available.
- Use Homing Attack to grab it. Your character swings around the pole.
- Time your release toward the next pole. Press Space on keyboard or A on controller to jump off.
- Use Homing Attack again near the next pole to grab it and continue the chain.
Watch the next pole's position while swinging so you can release toward it. Poorly timed jumps can make you fall.
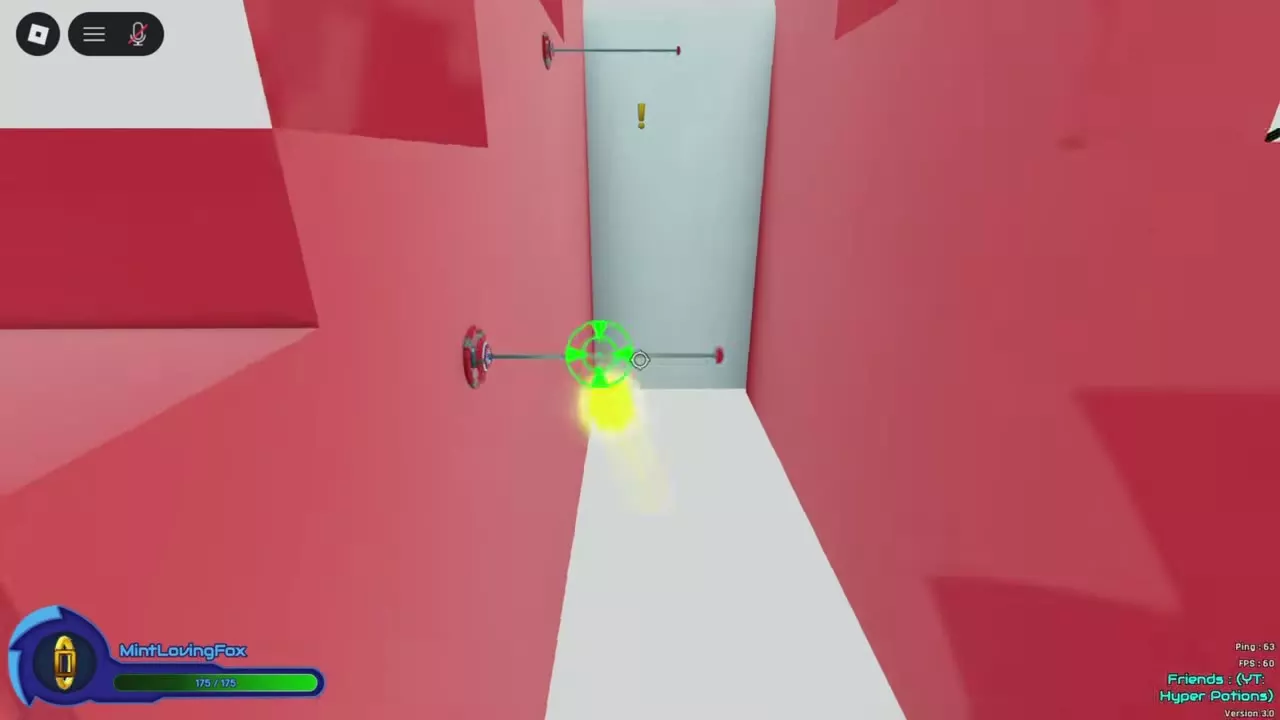
Crouch, Slide and Stomp
C on keyboard and B on controller share three actions. Your state and whether you tap or hold determine the result.
| State | Keyboard | Controller | Action |
|---|---|---|---|
| Stationary | Hold C | Hold B | Crouch |
| Running | Tap C | Tap B | Slide |
| Airborne | Hold C | Hold B/Circle | Stomp |
Break cracked floors
Find a floor with cracks across its surface, jump above it, then hold the airborne Stomp input to break it. On mobile, hold the Stomp button while airborne. Holding the shared input while standing on the floor performs Crouch; get into the air first.
Break walls
Use Boost, Slide, or Homing Attack against a breakable wall to open the route. The tutorial's wall has prominent cracks. Choose an action that fits your approach: Boost or Slide from a ground approach, or Homing Attack when approaching through the air.
Stomp and Heavy Stomp
Stomp is the movement action for breaking cracked floors. In a move set with Heavy Stomp, enter PvP and use the button assigned to Skill 4. With the action-guide bindings, that is 4 on keyboard or RT on controller; a custom binding changes the button.
In Base Form, a well-timed Heavy Stomp counters Spin Dash. Skills are unavailable while transforming or sitting. See PvP rules and combat moves for combat use and countering Spin Dash.
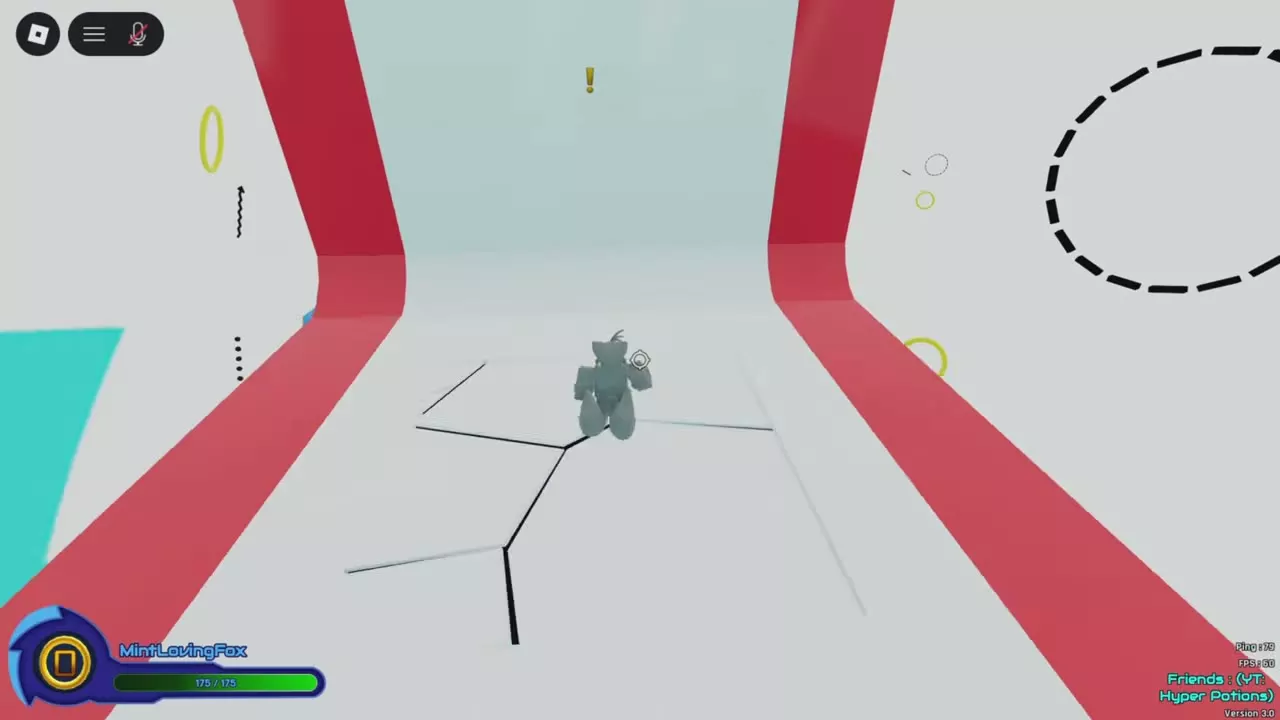
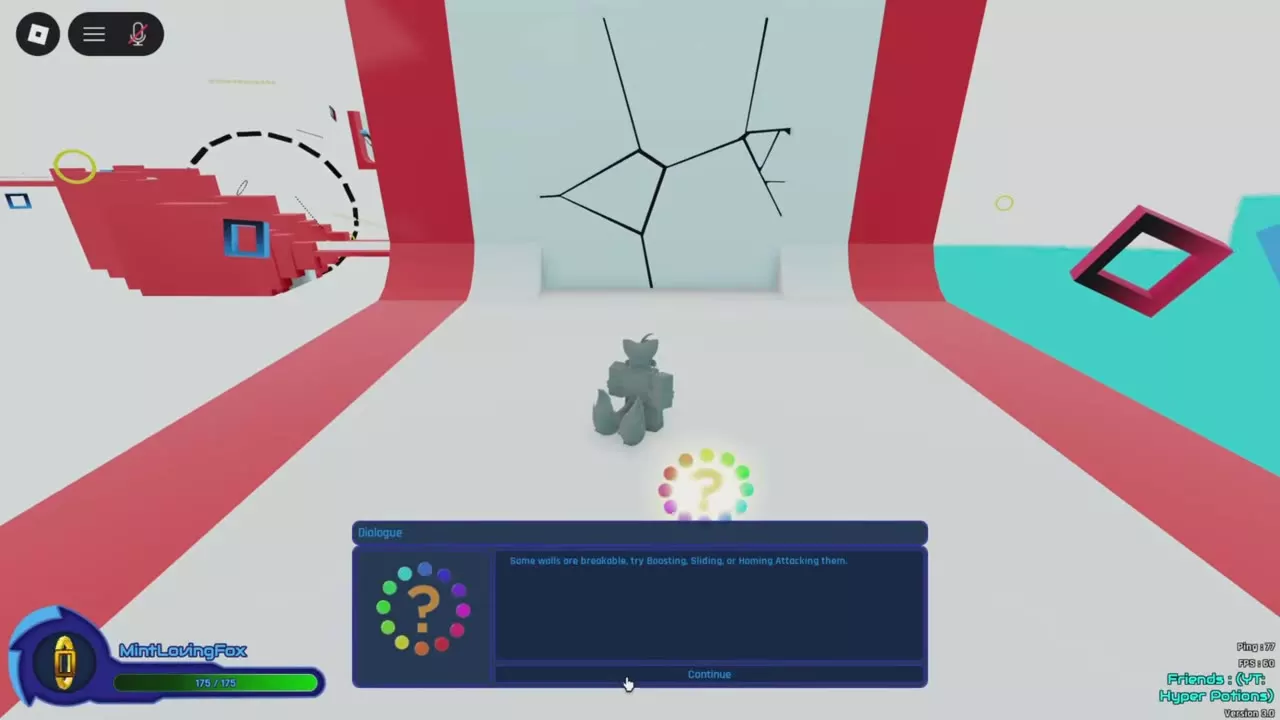
Rails, springs, walls and Dash Rings
Ride and switch rails
- Step onto a rail to begin grinding forward.
- Use Boost while grinding to increase your speed.
- When another rail is nearby, move left or right toward it to switch rails.
Rail switching requires a neighboring rail close to your current route.
Reach upper platforms
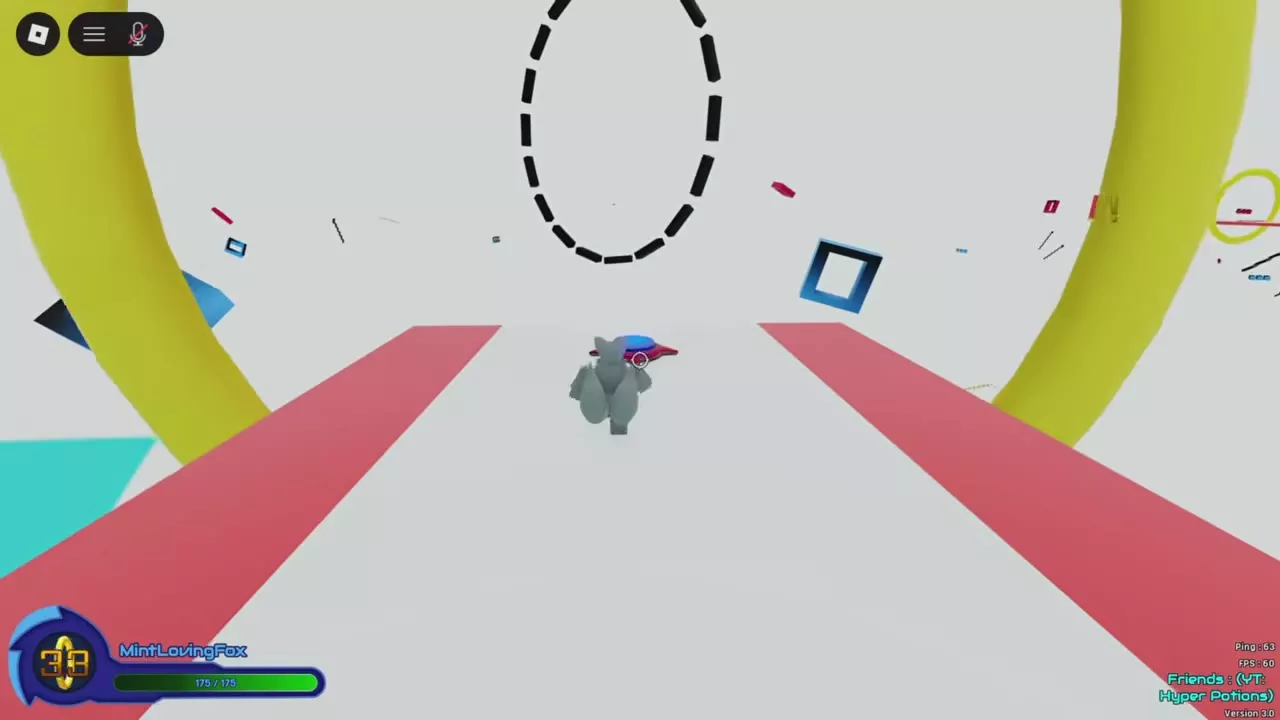
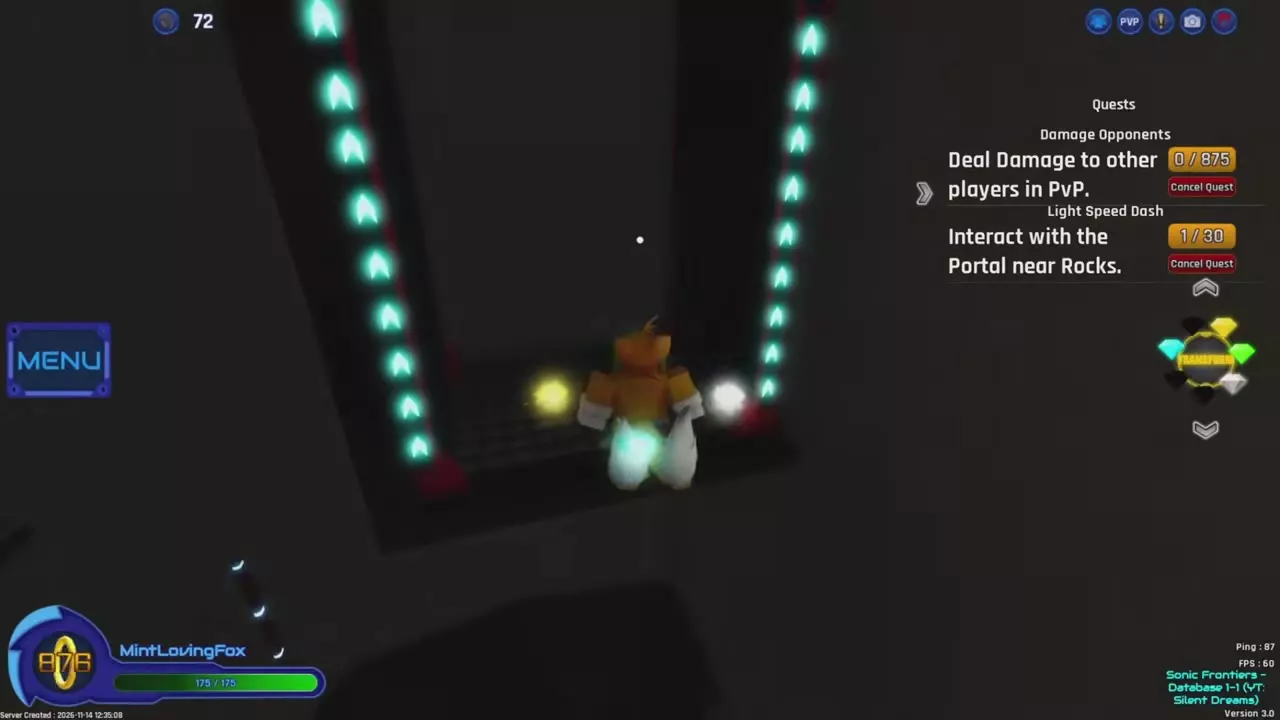
For the tutorial's arrow-marked walls, enter the passage between the walls and follow the upward route to the upper road. Behind the waterfall, the red-framed passage with glowing upward arrows leads to an upper stone platform.
At a spring wall, approach the red spring pad at the bottom to launch upward. Continue through the higher spring pads until you reach the platform above.
Cross gaps with Dash Rings
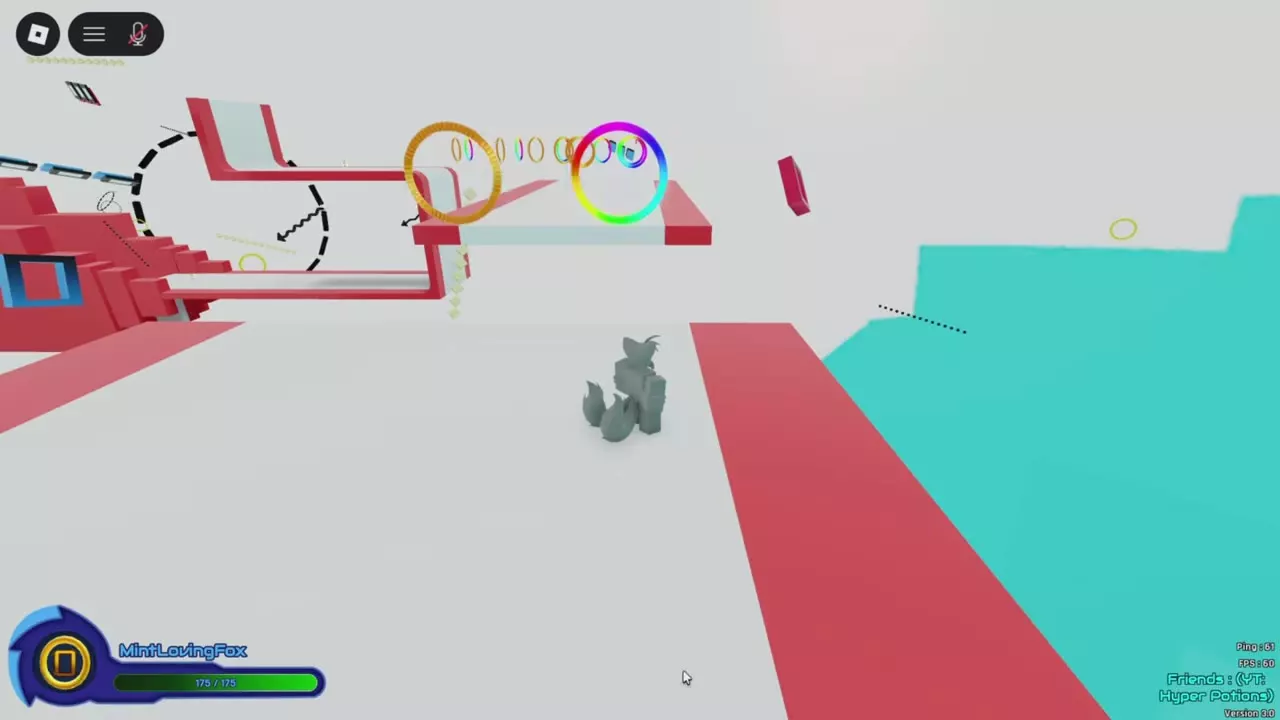
Line up your jump with a Dash Ring and enter it in the air. The ring provides an aerial boost to help carry you across a large gap. The tutorial route includes gold and rainbow-colored Dash Rings.
Open a switch-operated gate
At the tutorial's barred doorway, find the nearby ground switch with a blue circular surface. Step on it, return to the open doorway, and continue across the floating platforms beyond the gate.
Industrial upper walkway
Use the green floor, machinery, and cyan arrows to follow the route to the upper mesh walkway.
- Enter the building through its blue door. Follow the interior passage to the rectangular structure on the green floor beside the stairs.
- Inside the industrial section, follow the passage beside the green area. Pass the STAFF ONLY ALLOWED sign and head toward the rings and horizontal blue light bars.
- Cross into the equipment room. Follow the rows of rings around the machinery toward the higher route.
- Follow the rail to the platform beside the vertical passage marked with upward cyan arrows.
- Enter and ascend the arrow-marked passage to reach the upper mesh walkway, then continue forward.
Lava rails and platforms
Follow the rails and platform landmarks through the lava area toward the colored crystals.
- Follow the dark passage and its rails into the lava area.
- Ride the rail above the lava to the next platform.
- Cross the platform's rows of rings and approach the red target with the green targeting marker.
- Continue toward the blue-and-red circular device mounted on the wall, then descend to the ground below.
- Follow the orange terrain and dark platforms past the rows of rings. Continue toward the area decorated with colored crystals.
Tutorial and course routes
- Follow the beginner guide and tutorial for the complete first-time course and Emerald Radar reward.
- Browse obbies, checkpoints and records to choose a course and find its route details.
- Use ability controls and unlocks for Turbo Boost, Light Speed Dash, and other Workshop abilities.