
SURPG Permanent Emeralds quest and Device crafting
Turn eight scattered Device Parts into a working Device, then use it on the Master Emerald and hand in the quest to Risyari to unlock permanent Emerald saving and recall.
Collect all seven Chaos Emeralds to start Permanent Emeralds in Update 3. Speak to Risyari, then Yuma in The Workshop near spawn. Collect eight Device Parts, complete the Workbench's button prompts, matching-color wires and pointer stage, then use the Device on the Master Emerald. Return to Risyari and select Hand in Quest to receive Permanent Emeralds Saves and Emerald Recall.
Permanent saving and Emerald Recall
Completing Permanent Emeralds unlocks two rewards:
- Permanent Emeralds Saves: your Emeralds remain saved when you leave the game, including when you have not clicked Save Emeralds in Settings.
- Emerald Recall: after your Emeralds scatter, return to the Master Emerald and use the Device again to recall them all.
Collecting all seven Chaos Emeralds is the starting requirement. The unlock comes after collecting eight parts, crafting the Device, using it on the Master Emerald and handing the quest in to Risyari.
Start the quest and get Yuma's blueprint
- Collect all seven Chaos Emeralds. In Update 3, Permanent Emeralds starts automatically when this requirement is met.
- Speak to Risyari beside the Master Emerald. Select Quest, then Permanent Emeralds.
- Visit Yuma in The Workshop near spawn and continue his dialogue. He gives you the blueprint and sends you to find the scattered components.
- Begin collecting when the objective reads Find Parts for the Device, starting at 0/8.
If the Scatter Emeralds Notification appears, selecting Accept scatters your Emeralds and teleports you to Risyari to begin the quest.
Use the NPC directory to look up the quest and workshop characters.
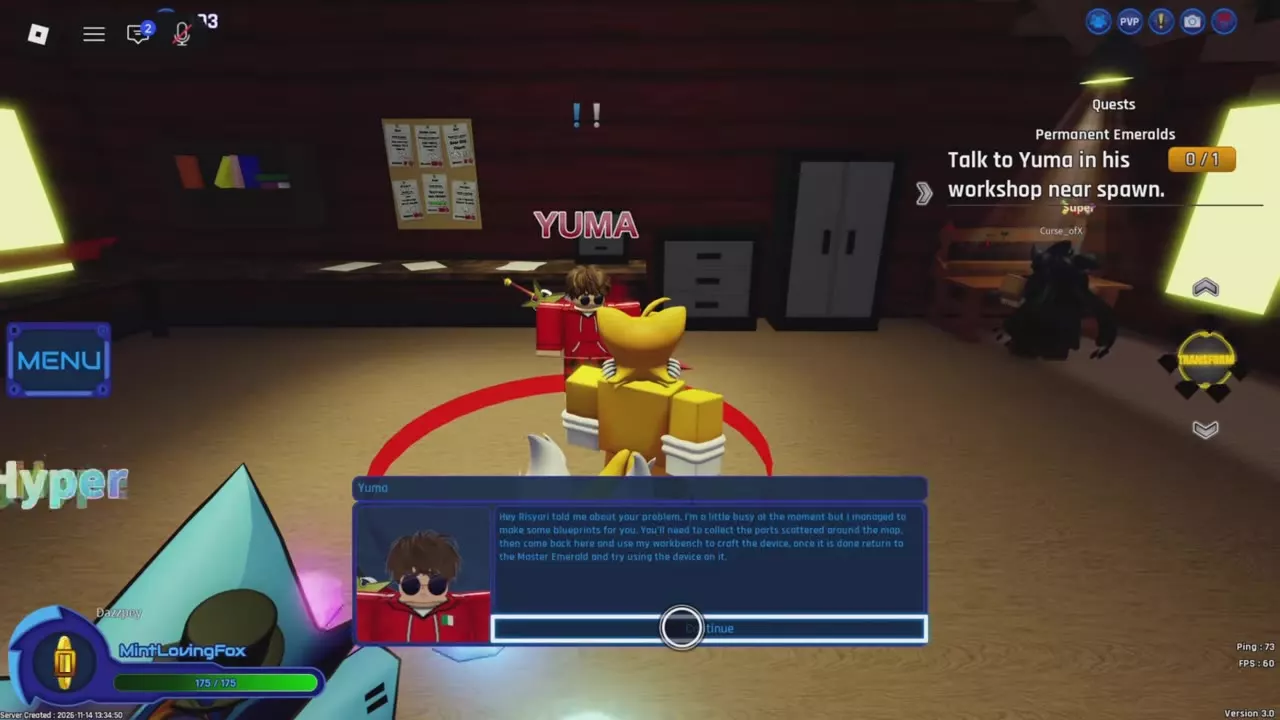
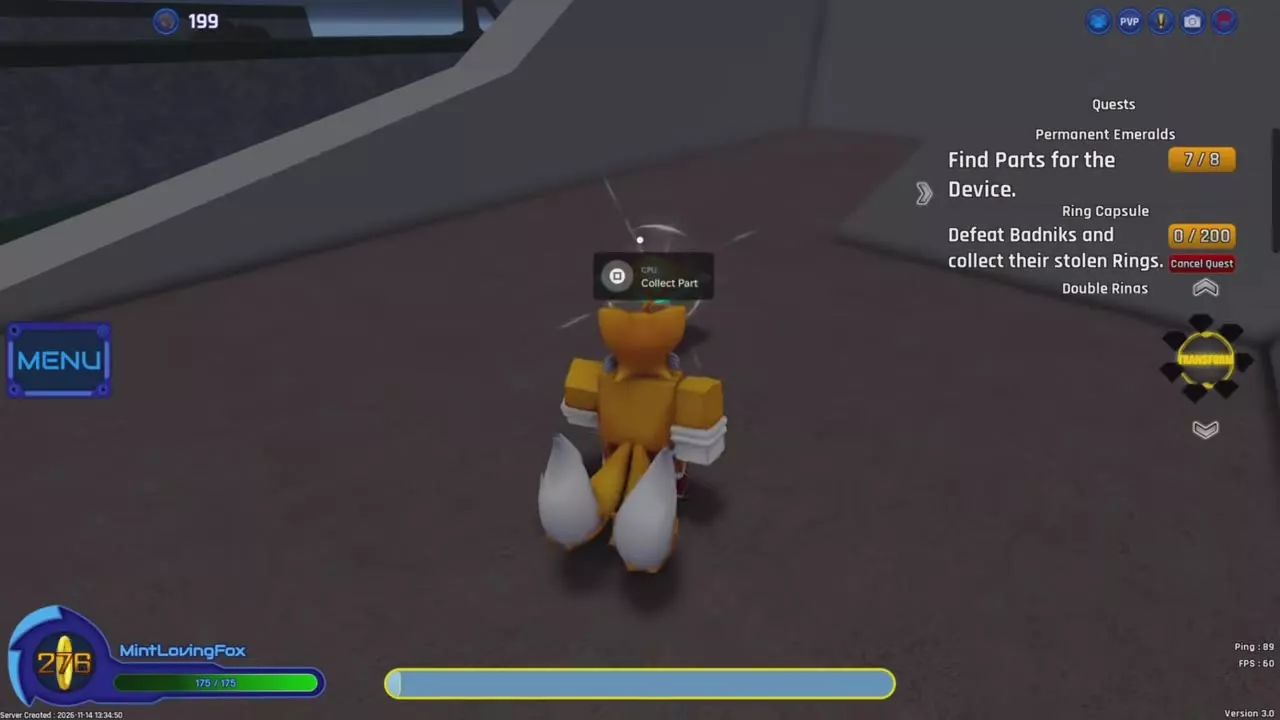
Device components and Workbench
The CPU is one of the eight Device Parts. Gather the components around the map, then assemble the Device at Yuma's Workbench. The finished Device is used on the Master Emerald.
Find eight Device Parts
Follow the red sphere and beeping to locate parts around the map. Approach a component and activate Collect Part. The component disappears when collected, and the quest counter increases.
Areas to search
Use this example route to organize your search, following the locator within each area:
| Search area | Route progress |
|---|---|
| City rooftop | 1/8 |
| Benches beside a red building | 2/8 |
| Ramp area | 3/8 |
| Dead trees and ruins | 4/8 |
| Elevated desert buildings | 5/8 |
| Elevated woodland near Rings | 6/8 |
| High platform between city buildings | 7/8 |
| City rooftop CPU | 8/8 |
For the CPU, search a city rooftop and use its Collect Part prompt.
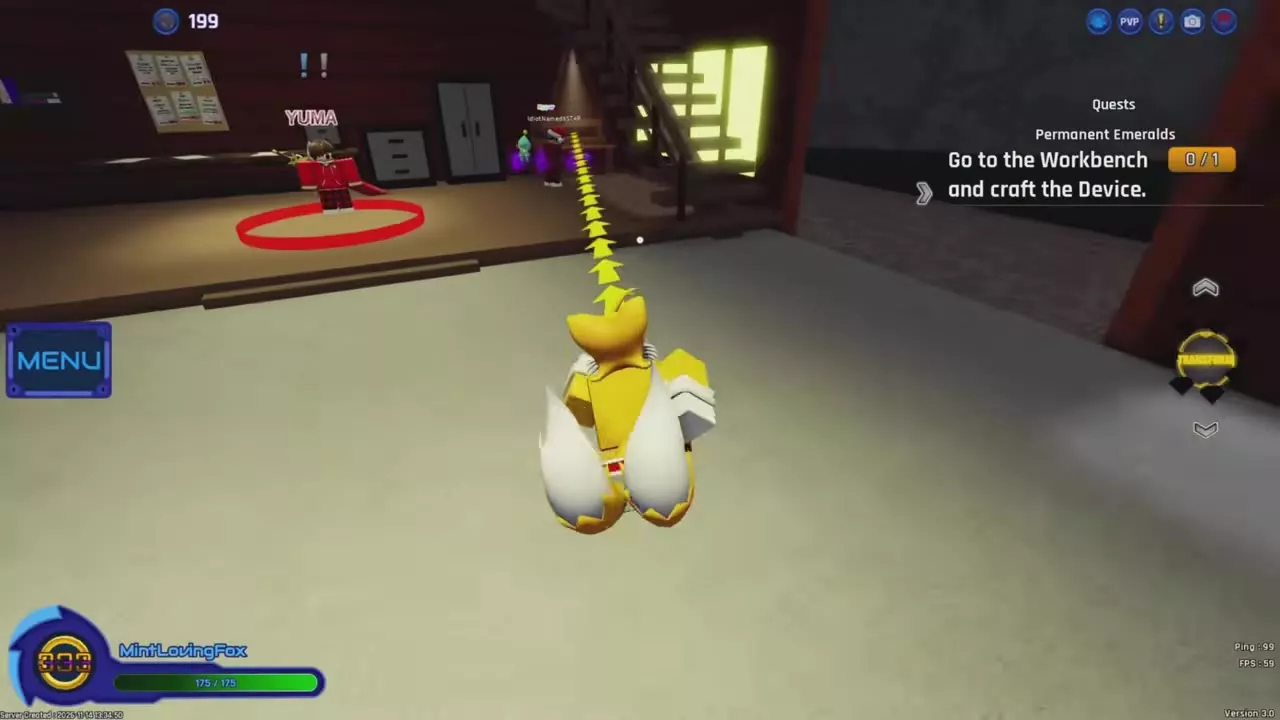
After collecting all eight parts, the objective changes to Go to the Workbench and craft the Device, with crafting progress at 0/1.
Craft the Device at the Workbench
With all eight parts collected, follow the yellow quest arrow back into Yuma's workshop. Approach the Workbench and select Interact.
Follow the button prompts
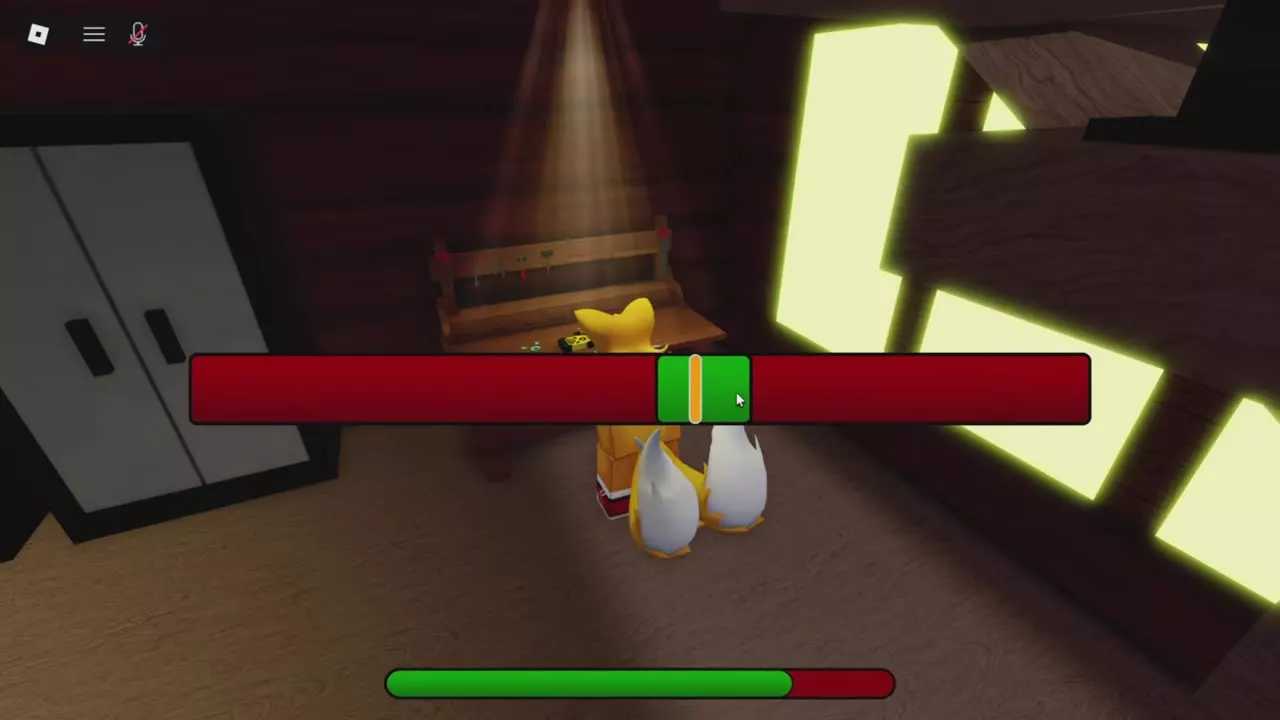
Wait through 3, 2, 1, Go, then follow the inputs displayed on screen. Controller prompts include LB, RT and RB. The green portion of the bottom progress bar grows as crafting advances.
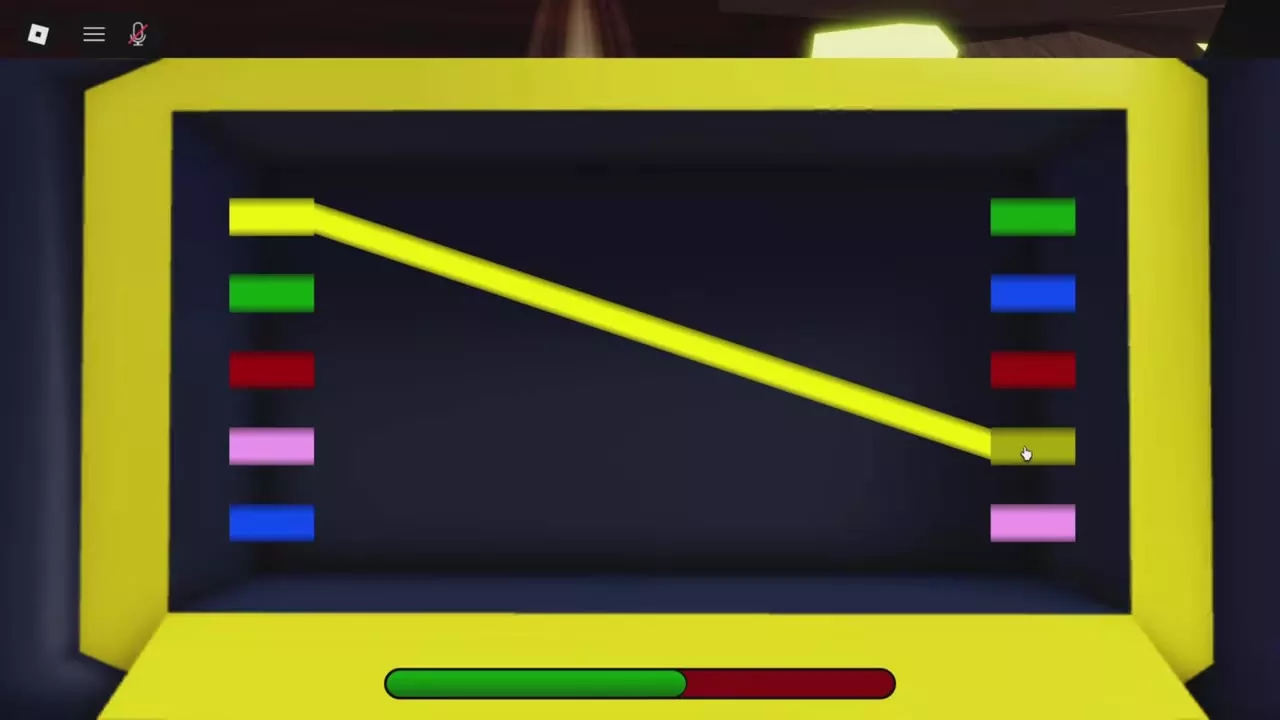
Connect matching wire colors
Connect each endpoint on the left to the endpoint of the same color on the right. With a mouse or touchscreen, click or touch and hold to drag the wire. On a controller, follow the displayed grab and release prompts.
For example, with yellow, green, red, pink and blue down the left side, and green, blue, red, yellow and pink down the right, connect yellow to the fourth right endpoint and green to the first. Match colors for every connection; use the colors shown in your puzzle to choose the destination.
Confirm the pointer in the green area
Align the yellow pointer with the green target area and confirm:
- Keyboard: press Space.
- Touchscreen: tap the screen.
- Controller: follow the displayed drag and confirm prompts.
Continue until the crafting interface closes and the quest objective becomes Use your new device on the Master Emerald, at 0/1.
Use the Device and hand in the quest
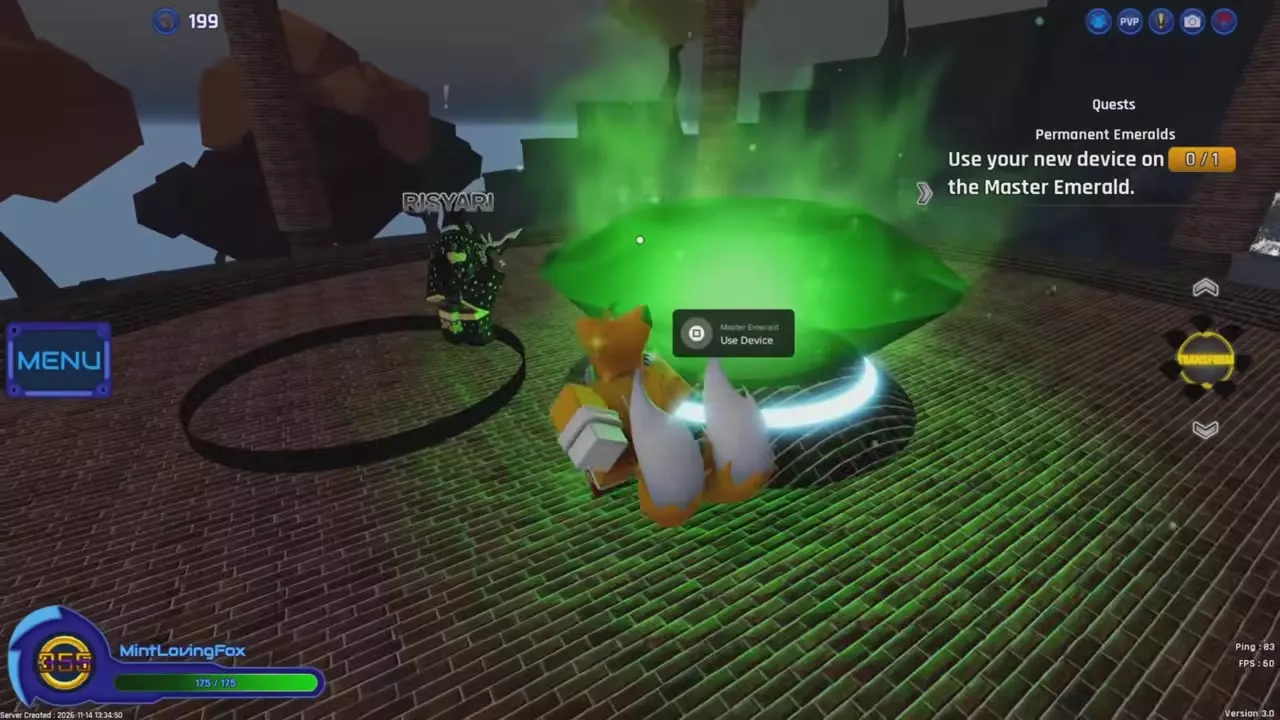
- Go to the Master Emerald Shrine and climb the stairs to the platform.
- Approach the large green Master Emerald and activate Use Device.
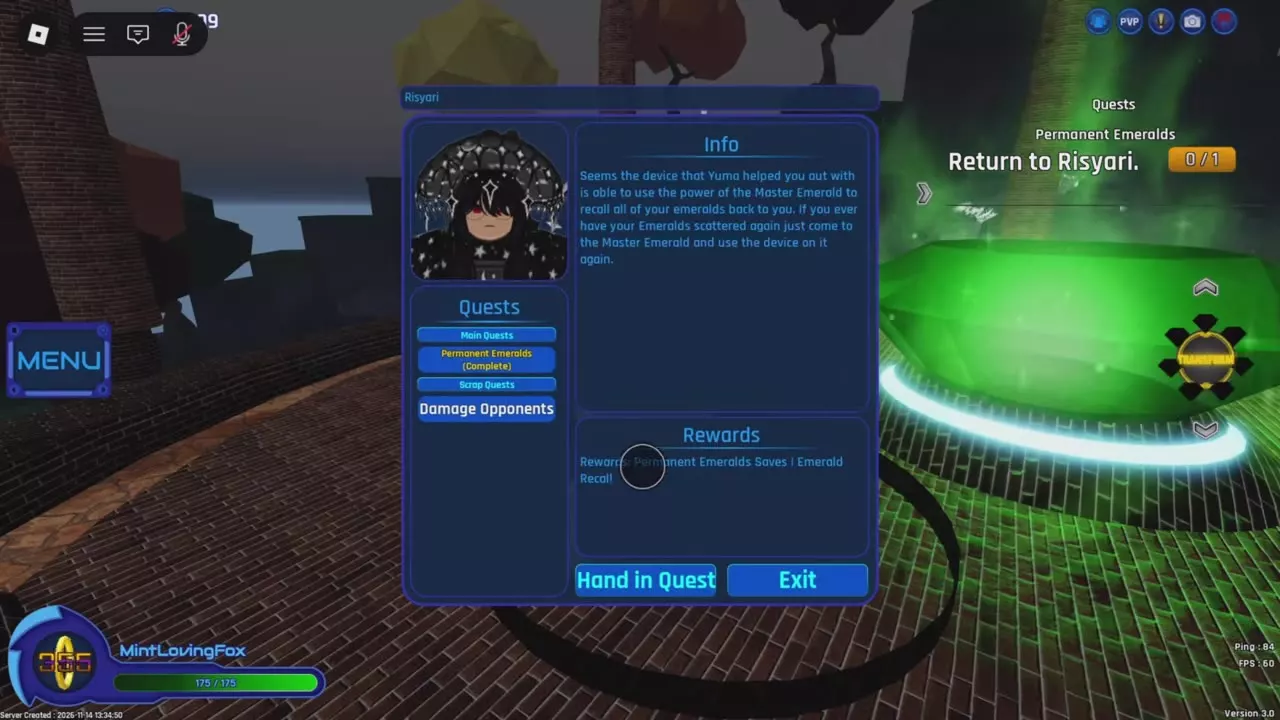
- When the objective changes to Return to Risyari, speak to Risyari beside the Emerald.
- Open her quest menu and select Permanent Emeralds, marked Complete.
- Select Hand in Quest to finish the quest and claim Permanent Emeralds Saves and Emerald Recall.
In Update 3, the subsequent cutscene removes the Master Emerald from its pedestal and opens the next main quest. Speak to Risyari again to begin Emerald Restoration.
Directory
Device components and the crafting station used during Permanent Emeralds.
4 objects
|
|
— | — | 8 parts |
|---|---|---|---|
|
A device crafted from eight collected parts at Yuma's Workbench. It uses the Master Emerald's power to recall scattered Emeralds.
|
|||
|
|
Yuma's workshop near spawn | Interact After collecting all eight Device Parts | — |
|
A crafting station in Yuma's workshop used to assemble the Device for Permanent Emeralds.
TipsCollect all eight parts before crafting. Start the sequence when Double Rings Chao Quest is no longer active. |
|||
|
|
Scattered around the map | Collect Part Near a collectible part | — |
|
Collectible components scattered around the map for the Permanent Emeralds Device. Eight parts are required before crafting starts.
TipsFollow the red sphere and beeping, then use Collect Part when you reach a component. |
|||
|
|
City rooftop | Collect Part During the Device Parts objective | — |
|
A named Device Part collected during Permanent Emeralds.
|
|||
Workbench blocked by Double Rings
The Workbench cannot start Device crafting while Double Rings Chao Quest is active. If you receive that message, return to the Workbench once the quest is no longer active, then select Interact to begin crafting.
See the Double Rings and Chao guide for that quest's objectives.
Recall Emeralds and continue the main quests
- After your Emeralds scatter: use Emerald saving and recall for the return route to the Master Emerald and the Emerald settings.
- For the next main quest: follow Emerald Restoration to find portals, complete challenges and recover seven Shards for Risyari.